


If your kids are anything like mine, their toys go everywhere with them and get all of the dirt and grime that comes with it. Right now we are also going through some serious teething with my daughter and drool is on everything we own! So in an effort to keep one of our favorite toys clean from drool to playground dirt, I have created a simple to sew cover for our Toniebox and will share step by step how you can make one too!

Supply List:
- 1/4 yard Fabric - I recommend jersey knit, but any stretchy fabric could work with a little trial and error.
- Thread
- Printer for Pattern
- Scissors/Rotary Cutter
- Sewing Machine
Step 1: Print the Pattern
- Download the pattern HERE
- Print the pattern at 100% to scale (check to make sure your box is 1" once printed).
- Cut out the pattern

Step 2: Cut the Fabric
- Lay the pattern on the fabric, making sure that the cutting pattern is correctly lined up with the design on the fabric (otherwise you may get an upside down/crooked design for your finished product).
- Trace the pattern with a fabric pen or chalk.
- Repeat 4x and cut all pieces out. *I recommend cutting each piece separate rather than stacking the fabric and cutting it all at once due to the stretch in the fabric making it hard to keep them all in line.
Step 3: Sew the Long Sides
- Take two pieces and put them right side together (design on the inside). Pin or clip the edge as needed.
- Sew all the way down one side with a stretch stitch. I chose the 03 stitch as pictured, but the stitch that looks like a lightning bolt is also a great option. This pattern has a 1/4" seam allowance to work with.
- Repeat with the next two pieces until they are all sewn together with one side left open (as pictured below).
 |
 |
Step 4: Hem Around the Top and Bottom
- Fold the fabric along the whole top edge. Depending on your sewing skill, you can either fold over the fabric just once and sew around the top (as pictured) or you can do a double fold hem for a more finished look. just keep in mind, you have 1/4" of fabric to make your hem. *use an iron to flatten or clips to hold the hem as you sew
- Sew the hem with a stretch stitch. I chose the same 03 stitch as before.
- Repeat with the bottom edge around the curve.

Step 5: Sew the Last Side and Turn Right Side Out
- Place the last open sides right side together (design on inside) and pin/clip.
- Sew the last side closed making sure to reinforce the stitch.
- Turn the cover right side out.

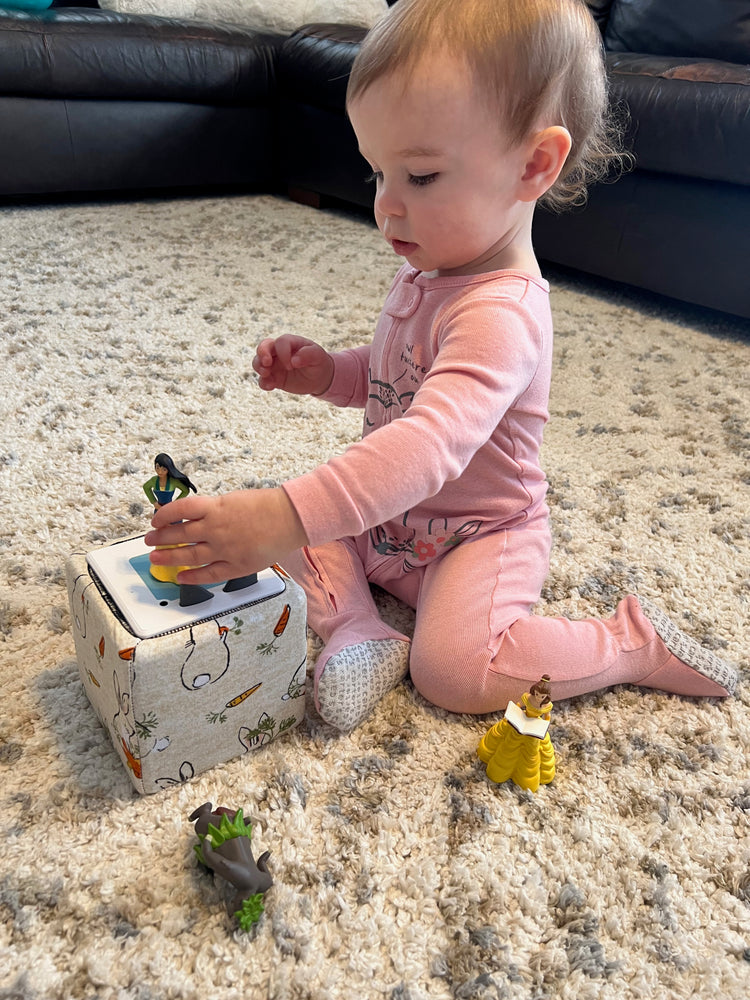
Step 6: Put it on Your Toniebox!
- Stretch the cover on over the bottom of the Toniebox and up.
- Once it is on, tuck in the top and bottom edges.
- Enjoy!
 |
 |
Not a sewer? Or just don't have time to gather supplies and make one? No worries! Just click HERE to head over to our store and you can grab a finished cover in several design options. *Please note that our finished covers are made with a serger rather than a sewing machine. So with that in mind, they are made with a different pattern and come with a nice finished edge and extra sewn in elastic for a tighter and slightly better fit.
If you liked this tutorial and would like to support our small business, you can click below to donate and help us create more content while keeping our tutorials Ad Free. We appreciate you and your support!
